
How to screen print t shirts?
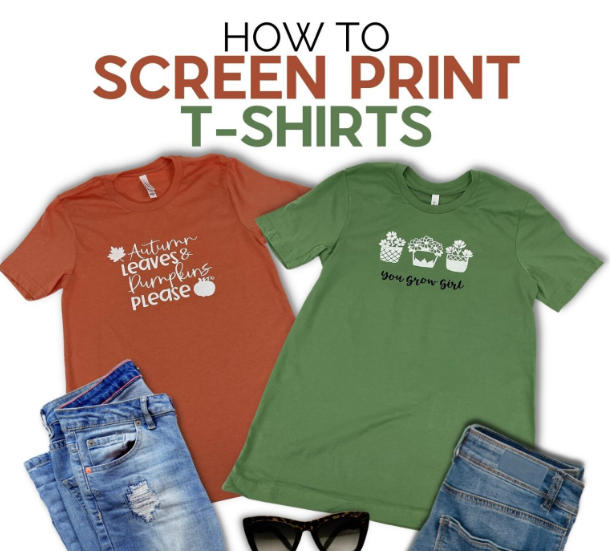
How to screen print t shirts?
Introduction
Screen printing, also known as silk screen printing, remains one of the most widely used and reliable methods for customizing t-shirts. From hobbyists creating personalized apparel to large-scale manufacturers producing bulk orders, this technique offers unmatched versatility, durability, and print quality.
However, for beginners, screen printing can appear complex. The process involves multiple stages, including artwork preparation, stencil creation, screen exposure, printing, and curing. Each step requires precision, proper materials, and an understanding of how variables such as mesh count, ink type, and exposure time interact.
This guide provides a comprehensive, beginner-friendly walkthrough of the entire screen printing workflow. By following these steps and best practices, you will not only complete your first successful print but also build a strong technical foundation for future projects.

Understanding the Screen Printing Process
Before diving into the practical steps, it is important to understand the core concept behind screen printing.
Screen printing works by pushing ink through a mesh screen onto a substrate (in this case, a t-shirt), except in areas blocked by a stencil. The stencil is created using a light-sensitive emulsion that hardens when exposed to light, forming a precise negative of your design.
This method offers several advantages:
- High durability compared to other printing techniques
- Vibrant and opaque color application
- Compatibility with a wide range of fabrics
- Scalability for both small and large production runs
Because of these benefits, screen printing is widely used in industries such as apparel manufacturing, promotional products, and textile decoration.
Related Blog: What is a Serigraph?
Step 1: Designing Your Artwork
The first and most creative stage of screen printing is developing your design. While creativity plays a major role, technical considerations are equally important to ensure printability.
Key Design Factors
When preparing your artwork, consider the following:
1. Number of Colors
Each color in your design requires a separate screen. Multi-color prints involve more complex setup, including registration alignment. Beginners should start with single-color designs to simplify the process.
2. Level of Detail
Fine details require higher mesh counts and precise exposure control. Overly complex designs can lead to poor stencil definition, especially for first-time printers.
3. Contrast and Boldness
High-contrast designs with bold lines and solid shapes produce the best results. Thin lines or gradients are more difficult to reproduce accurately.
Recommended Tools for Artwork Creation
Professional screen printers typically use:
- Adobe Illustrator (vector-based design)
- Adobe Photoshop (raster-based design)
These tools allow precise control over resolution, color separation, and output quality.
For beginners without access to design software, a practical alternative is:
- Drawing directly onto transparency film using opaque black markers
Why Artwork Simplicity Matters
Starting with simple artwork helps you:
- Reduce exposure errors
- Achieve cleaner prints
- Minimize ink bleeding
- Build confidence in the process
As your skills improve, you can gradually move toward multi-color and high-detail designs.

Step 2: Preparing Film Positives
Once your design is ready, it must be transferred onto a transparent film, known as a inkjet film positive.
This inkjet film is used during the exposure process to block light and define your stencil.
Critical Requirement: Opacity
Opacity is one of the most important factors in screen printing.
If the black areas of your inkjet film are not fully opaque:
- Light will leak through
- The emulsion will partially cure
- The stencil will lose detail
How to Ensure Proper Opacity
- Use high-quality inkjet film designed for screen printing
- Print at maximum ink density settings
- Double-print if necessary
Simple Opacity Test
Hold your film up to a strong light source:
- If no light passes through → Ready for exposure
- If light is visible → Reprint or enhance opacity
Step 3: Coating the Screen with Emulsion with scoop coater
The next step is preparing your screen using emulsion.
What is Emulsion?
Emulsion is a photosensitive chemical coating applied to the mesh screen. It reacts to UV light and is used to create the stencil.
Coating Process
- Place the screen in a clean, dust-free environment
- Use a scoop coater to apply emulsion evenly
- Coat both sides of the mesh
- Ensure a smooth, thin layer
Best Practices
- Avoid thick coatings (they reduce exposure accuracy)
- Maintain even pressure during coating
- Work quickly to prevent uneven drying
Drying Requirements
After coating:
- Dry the screen in a completely dark environment
- Ensure proper airflow
- Avoid dust contamination
A fully dry screen is essential before exposure. Any moisture can lead to stencil failure.
Related Blog: How to choose suitable Emulsion for screen printing?
Step 4: Exposing the Screen
Exposure is the process of transferring your design onto the emulsion-coated screen using light.
How Exposure Works
- UV light hardens exposed emulsion
- Film blocks light in design areas
- Unexposed emulsion remains soft
After exposure, the soft emulsion is washed away, leaving your stencil.
Key Exposure Variables
- Light source intensity
- Distance from light to screen
- Exposure time
- Emulsion type
- Mesh count
Incorrect exposure can result in:
- Underexposure (stencil washes away)
- Overexposure (image does not wash out)
Washing Out the Screen
After exposure:
- Use a pressure hose or spray nozzle
- Gently rinse until the design appears
- Continue until edges are sharp and clean
A properly exposed screen will show:
- Crisp lines
- Clear open areas
- No residue blocking the design
Step 5: Setting Up Your Printing Equipment
Proper setup is essential for achieving consistent and professional results.
Basic Equipment Needed
- Screen printing press (manual recommended for beginners)
- Platen (holds the t-shirt)
- Squeegee
- Ink
- Adhesive spray
Why Use a Screen Printing Press?
A press ensures:
- Accurate alignment
- Repeatable prints
- Stability during printing
For beginners, a single-color manual press is the best starting point.
Understanding Off-Contact
Off-contact refers to the gap between the screen and the garment.
Benefits include:
- Cleaner prints
- Reduced smudging
- Better ink release
A simple technique is placing small spacers under the screen corners.
Step 6: Printing the T-Shirt
With everything set up, you are ready to print.
Preparation
- Secure the t-shirt onto the platen
- Apply adhesive to prevent movement
- Align the screen properly
Ink Application Process
- Add ink to the screen
- Flood the screen (light pressure)
- Perform the print stroke
Screen Printing Squeegee Technique
- Angle: approximately 45 degrees
- Pressure: firm and even
- Motion: smooth and controlled
For most prints:
- 1–2 passes are sufficient
- Avoid excessive pressure (causes bleeding)

Common Printing Issues
- Uneven prints → inconsistent pressure
- Blurry edges → poor off-contact setup
- Ink bleeding → too much pressure or low mesh count
Step 7: Curing the Ink
Curing is the final and critical step in the process.
Without proper curing, prints will:
- Crack
- Fade
- Wash out
Curing Methods
- Heat press
- Flash dryer
- Conveyor dryer
- Heat gun (small-scale use)
Temperature Guidelines
For plastisol ink:
- Typically cured at 160–170°C
- Duration: around 60 seconds
Always follow manufacturer specifications.
How to Test Proper Curing
- Stretch test: ink should not crack
- Wash test: print should remain intact
Common Beginner Mistakes
Avoid these frequent issues:
- Using low-opacity film positives
- Applying uneven emulsion coating
- Incorrect exposure timing
- Poor screen alignment
- Inconsistent squeegee pressure
- Inadequate curing
Correcting these mistakes early will significantly improve your results.
Expert Tips for Better Results
- Start with simple, single-color designs
- Use high-quality mesh and emulsion
- Maintain a clean workspace
- Record exposure times for consistency
- Practice squeegee control regularly
Conclusion
Screen printing is both a technical skill and a creative craft. While the process may seem detailed at first, mastering each step will allow you to produce high-quality, professional prints consistently.
By starting with the fundamentals—simple designs, proper materials, and controlled processes—you can quickly build confidence and expand into more advanced techniques such as multi-color printing and large-scale production.
Call to Action
If you are looking for reliable screen printing materials and equipment, we offer a full range of professional solutions, including:
- Screen printing mesh
- Emulsion and chemicals
- Squeegees and inks
- Printing machines and accessories
Contact us today to get expert recommendations and start your screen printing journey with confidence.
What Is Backlit Film Printing?
Can You Use Duct Tape as Electrical Tape?
Related Article


