The Ultimate Guide of Screen Printing Exposure Unit
The Ultimate Guide of Screen Printing Exposure Unit
Screen exposure is a core pre-press process in screen printing. It directly determines the clarity of the screen pattern, dot accuracy, and the number of print runs the screen can withstand. Proper operation of the screen exposure unit is key to ensuring the quality of screen-printed products.
1. What Is Cold-light Exposure Unit?
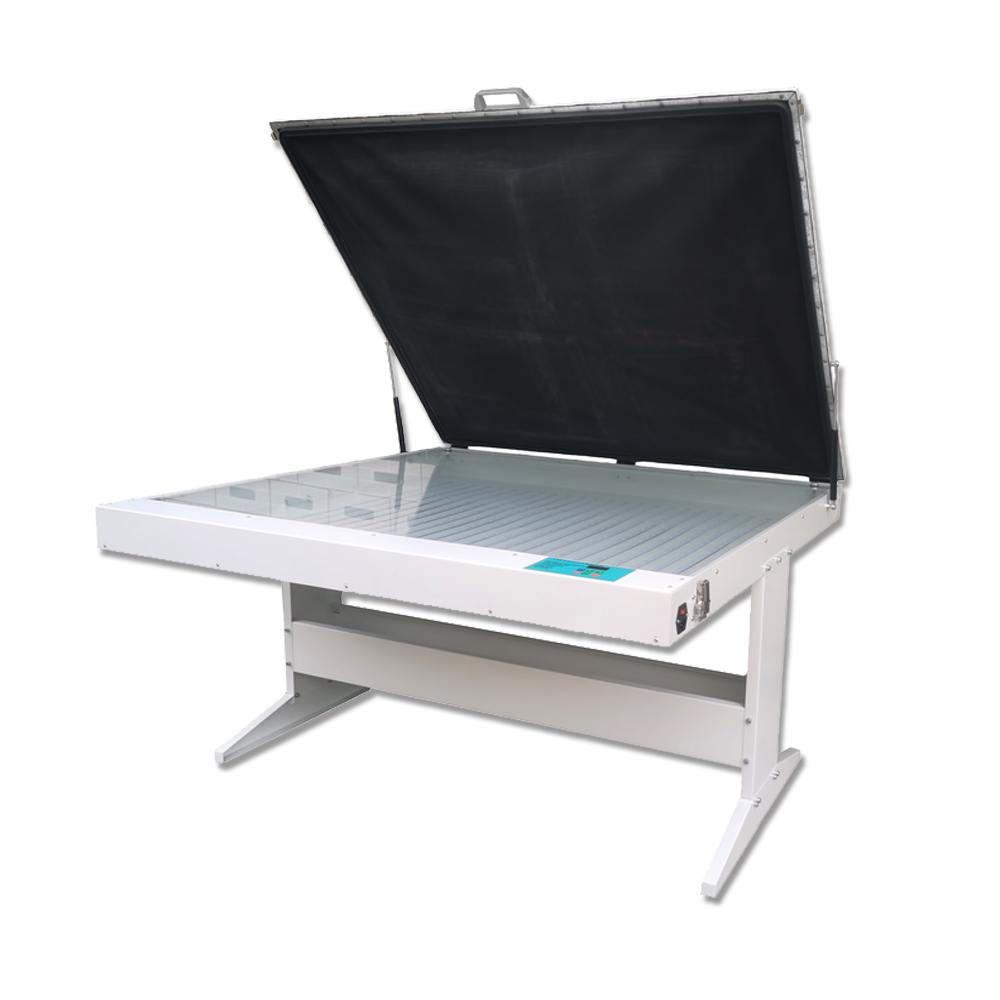
The 40×48 cold-light exposure unit is the mainstream equipment for small and medium-sized screen printing workshops. Designed to accommodate standard 40 cm × 48 cm screen frames and equipped with an LED cold light source, it is widely used in apparel printing, advertising screen printing, and electronic product printing due to its advantages of low-temperature exposure, uniform light distribution, low energy consumption, and low failure rate. Compared to traditional halogen lamp exposure units, this equipment eliminates the problems of high temperatures scorching the photosensitive emulsion and warping the screen frames, making it suitable for exposing fine text, small halftone dots, and gradient patterns.
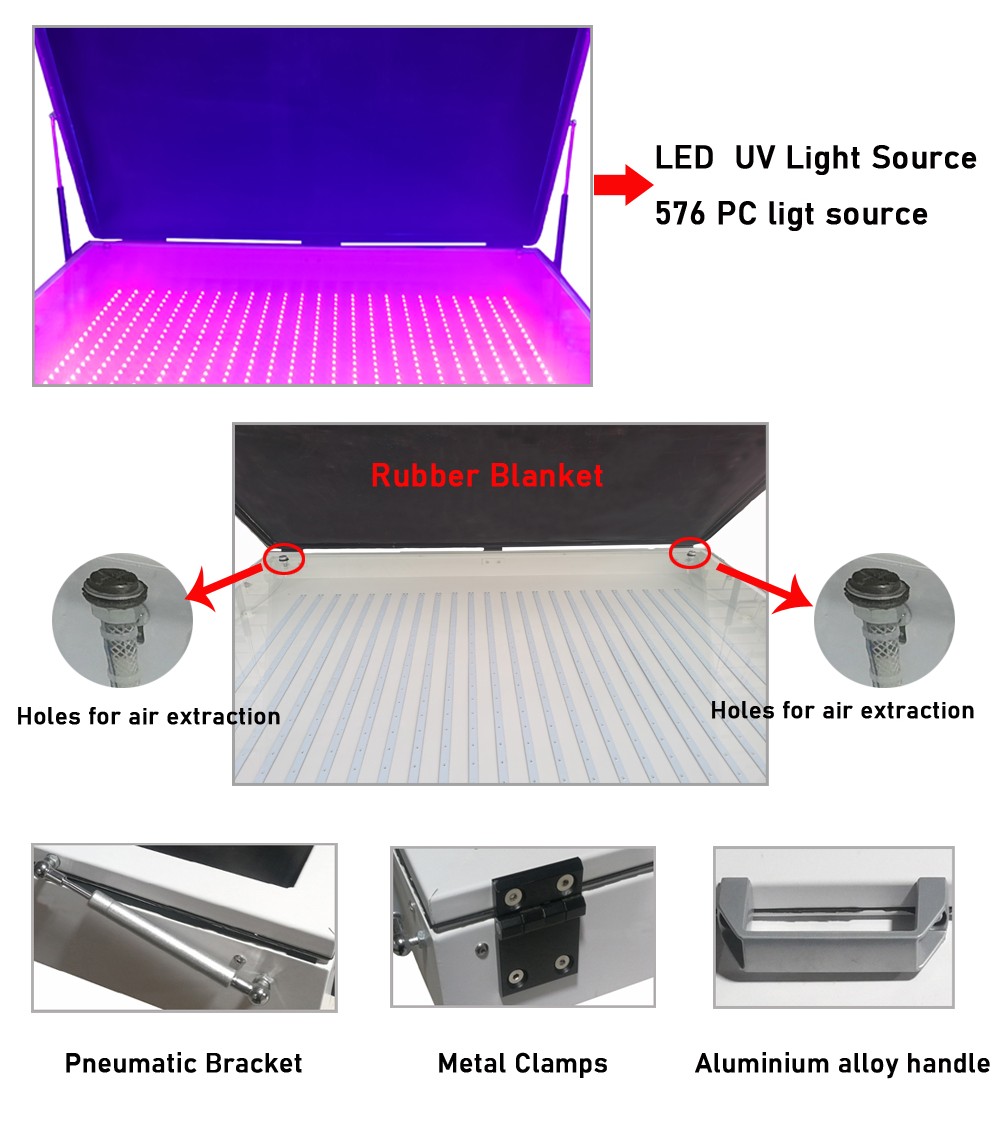
The core specifications of the 40×48 cold-light source screen exposure unit are tailored to the needs of small and medium-sized screen printing operations. With an effective exposure area of 400 mm × 480 mm, it is compatible with standard manual and semi-automatic screen frames and supports screen making with mesh counts ranging from 120 to 300. The equipment utilizes a UV LED cold light source module, with a uniformity error of ≤5% across the entire plate. There are no significant temperature variations, and the screen remains at room temperature throughout the exposure process, completely eliminating issues commonly associated with traditional hot light source equipment—such as photoresist cracking, pattern distortion, and dot smudging.
Additionally, the equipment is equipped with an intelligent vacuum suction system that ensures seamless adhesion between the screen and the film, eliminating light leakage and blurred edges; It features a microcomputer-controlled panel that supports precise adjustment of vacuum duration and exposure time, with parameter memory functionality, and is compatible with water-based, oil-based, and dual-purpose photosensitive emulsions. Balancing precision and efficiency, this equipment is suitable for both batch production of standard designs and high-precision screen making for intricate small parts and high-dot-count patterns, making it the go-to workhorse screen-making machine for small and medium-sized screen printing shops.
2. How to Do the Pre-Startup Preparations and Safety Checks?
Proper preparatory work is essential for preventing screen-making failures and extending equipment lifespan. Operators must conduct a comprehensive inspection before starting work, and it is strictly prohibited to operate faulty equipment. First, clean the work environment and equipment by removing dust, adhesive residue, and debris from the glass surface of the exposure unit. Contaminants on the glass surface can directly cause pinholes and spots on the screen; after cleaning, wait until the surface is completely dry. At the same time, inspect the equipment’s ventilation openings to ensure they are unobstructed, thereby ensuring stable heat dissipation.
Next, inspect the electrical circuits and equipment to confirm that the power cord is properly grounded and that there are no signs of aging or damage to the wiring. Before powering on the equipment, check that the vacuum pump tubing connections are secure and free of air leaks or blockages. Then inspect the consumables and work-in-progress items. Confirm that the screens to be exposed have been evenly coated with photosensitive emulsion and have dried completely in a dust-free, light-protected environment. Ensure the film patterns are clear, free of scratches and stains, and that the front and back sides are correctly oriented to prevent screen rejection caused by defective consumables. Finally, inspect the equipment’s limit stops and sealing strips to ensure they are intact; replace any aged or damaged strips promptly to guarantee the vacuum seal’s integrity.
3. How to Use the Screen Exposure Unit?
The 40×48 cold-light plate setter features a simple and standardized operating procedure, divided into five main steps: parameter setup, alignment and placement, vacuum suction, exposure and curing, and plate removal and cleanup. The specific steps are as follows.
Step 1: Power-on and Parameter Adjustment.
Connect the device to a power source and turn on the main switch. Allow the device to warm up for 30 seconds in standby mode to stabilize the LED light source’s output power, thereby preventing uneven initial light intensity from affecting the exposure results. Set key parameters via the CNC control panel; the standard vacuum suction time is 20–25 seconds to ensure the screen and film are fully aligned; Exposure time should be adjusted based on the type of emulsion and mesh count. For standard 180–250-mesh screens and general-purpose dual-purpose emulsion, the standard exposure time is 60–85 seconds; for high-mesh 300-mesh fine screens, this should be extended to 90–110 seconds; and for thick-layer emulsion, exposure time may be appropriately increased. Once parameters are set, the equipment automatically saves them, eliminating the need for repeated adjustments.
Step 2: Align the film with the screen.
In a dark or low-light environment, lay the cleaned film face-up on the center of the glass table, ensuring the design is centered and does not extend beyond the effective exposure area. Then, gently place the thoroughly dried photosensitive screen over the film and adjust the screen frame’s position to ensure the design is perfectly aligned with no offset or misalignment. Do not move the film during this process to prevent alignment errors.
Step 3: Vacuum adhesion.
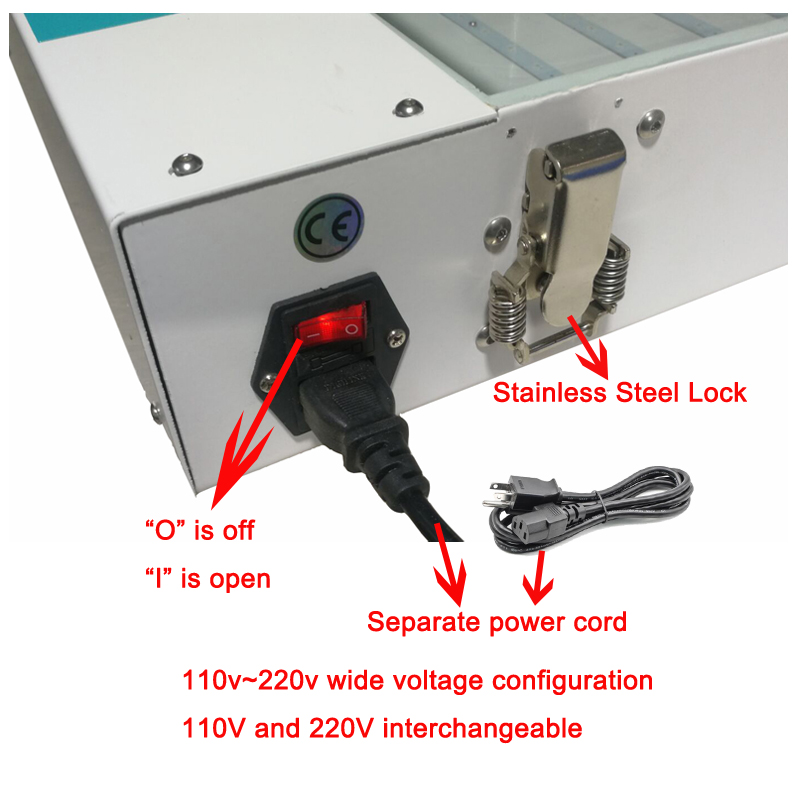
Close the equipment cover and secure the latches. Press the start button, and the equipment will automatically activate the vacuum pump to begin evacuating air. Wait until vacuum adhesion is complete and the screen is fully and tightly bonded to the film without any air bubbles or gaps. The equipment will then automatically enter the exposure preparation state. Inadequate vacuum adhesion can cause blurring at the edges of the design and light leakage, which is one of the main causes of screen-making failure.
Step 4: Precise Exposure and Curing.
Once the vacuum delay ends, the UV cold light source automatically turns on, and the exposure timer starts. The machine maintains a constant temperature throughout the exposure process, so there is no need to worry about the screen warping due to heat. Operators must not open the cover or touch the machine; allow it to run undisturbed. When the timer ends, the light source automatically turns off, and the exposure process is complete.
Step 5: Depressurization, Screen Removal, and Final Steps.
After exposure is complete, press the depressurization button to release the vacuum. Once the pressure has dropped to zero, open the equipment cover and gently remove the screen and film. The removed screen can be immediately rinsed with clean water for development; the photosensitive emulsion in the unexposed areas dissolves upon contact with water, revealing the transparent pattern. After rinsing thoroughly, let it air dry to complete the screen-making process.
4. How to Maintain Your Exposure Unit for Long-lasting Performance?
Proper daily maintenance can significantly extend the service life of the 40×48 cold-light plate setter and ensure consistent plate-making accuracy. At the end of each workday, be sure to clean the glass work surface and the sealing gaskets on the cover plate, wipe dust from the light source surface, and remove dust from the vacuum pump filter to keep the equipment clean. Inspect the electrical wiring, vacuum lines, and snap-fit components once a week; tighten any loose parts and replace worn rubber seals. Perform a comprehensive monthly maintenance check on the equipment, testing the uniformity of the light source and the stability of the vacuum suction, and calibrating the exposure time parameters.
Additionally, the equipment must be placed in a dry, dust-free, and light-protected work environment to prevent circuit failures and LED aging caused by humidity or high temperatures. When not in use for extended periods, disconnect the power supply, cover the unit to protect it from dust, and do not allow heavy objects to crush the equipment’s work surface. Furthermore, do not place screen frames that exceed the specified dimensions to avoid squeezing the equipment’s frame, and strictly prevent equipment damage caused by improper operation.
How much does screen printing usually cost?
How to Choose the Right Screen Printing Stretching Machine?
Related Article